Introduction
Replication is the process of sharing data between databases in different locations. Using replication, we can create copies of the database and share the copy with different users so that they can make changes to their local copy ofdatabase and later synchronize the changes to the source database.
Microsoft SQL Server replication uses publisher, distributor and subscriber entities.
Publisher is a server that makes the data available for subscription to other servers. In addition to that, publisher also identifies what data has changed at the subscriber during the synchronizing process. Publisher containspublication(s).
Subscriber is a server that receives and maintains the published data. Modifications to the data at subscriber can be propagated back to the publisher.
Distributor is the server that manages the flow of data through the replication system. Two types of distributors are present, one is remote distributor and the other one local distributor. Remote distributor is separate from publisher and is configured as distributor for replication. Local distributor is a server that is configured as publisher and distributor.
Agents are the processes that are responsible for copying and distributing data between publisher and subscriber. There are different types of agents supporting different types of replication.
An article can be any database object, like Tables (Column filtered or Row filtered), Views, Indexed views, Stored Procedures, and User defined functions.
Publication is a collection of articles.
Subscription is a request for copy of data or database objects to be replicated.
Types of Subscription:
Changes to the subscriptions at the publisher can be replicated to subscribers via PUSH subscription or PULL subscription. With Push subscription, the publisher is responsible for synchronizing all the changes to the subscriber without subscriber asking for those changes. With Pull subscription, the subscriber initiates the replication instead of the publisher.
Replication Types
Microsoft SQL Server 2000 supports the following types of replication:
- Snapshot Replication
- Transactional Replication
- Merge Replication
Snapshot Replication
- Snapshot replication is also known as static replication. Snapshot replication copies and distributes data anddatabase objects exactly as they appear at the current moment in time.
- Subscribers are updated with complete modified data and not by individual transactions, and are not continuous in nature.
- This type is mostly used when the amount of data to be replicated is small and data/DB objects are static or does not change frequently.
Transactional Replication
- Transactional replication is also known as dynamic replication. In transactional replication, modifications to the publication at the publisher are propagated to the subscriber incrementally.
- Publisher and the subscriber are always in synchronization and should always be connected.
- This type is mostly used when subscribers always need the latest data for processing.
Merge replication
It allows making autonomous changes to replicated data on the Publisher and on the Subscriber. With merge replication, SQL Server captures all incremental data changes in the source and in the target databases, and reconciles conflicts according to rules you configure or using a custom resolver you create. Merge replication is best used when you want to support autonomous changes on the replicated data on the Publisher and on the Subscriber.
Replication agents involved in merge replication are snapshot agent and merge agent.
Implement merge replication if, changes are made constantly at the publisher and subscribing servers, and must be merged in the end.
By default, the publisher wins all conflicts that it has with subscribers because it has the highest priority. Conflict resolver can be customized.
Necessary steps to be taken before doing replication process:
- Before starting the replication process, change the log on account for the MSSQLSERVER service as �This account�. Use any SQL login account which is a member of sysadmin server role. Please see the screenshot for more information. Don�t forget to restart the MSSQLSERVER service.
- Adequate disk space should be allocated for publisher, distribution and subscriber�s databases.
- Use NOT FOR REPLICATION option when defining Identity columns.
Step by Step Procedure for Merge Replication setup
- Open SQL Server Enterprise Manager and select Tools menu -> Replication -> Configure Publishing, Subscribers, and Distribution�
- Configure the appropriate server as publisher or distributor.
- Enable the appropriate database for merge replication.
- Enable the appropriate server as subscriber.
- Open SQL Server Enterprise Manager and select the appropriate SQL Server Group for which replication needs to be done, then select Tools menu -> Replication -> Create and Manage Publications.
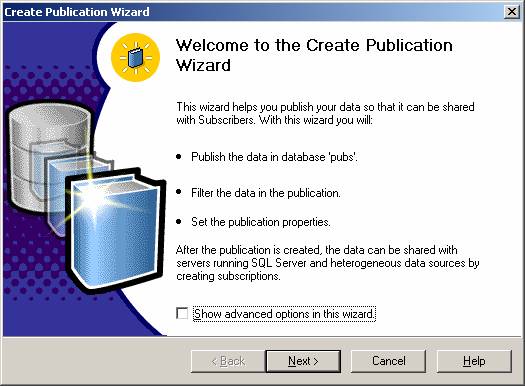
- This will open a dialog box for �Create and Manage Publications on respective server�. Select the appropriatedatabase and then click �Create Publication�. This will open �Create Publication Wizard�. Just click Next.
- It will ask to choose a Distributor for the selected server. Select �Make Server its own Distributor; SQLServer will create a distribution database and a log�. Then click Next.
- It will ask for the Snapshot folder path. Browse and select the appropriate path for Snapshot folder and then click Next.
Note: Create one folder in the Publisher machine and share the folder, then give full permissions for the user through which you logged in. Make sure that you are able to access this folder from the Subscriber machine also. If you are not able to access, give full permissions to that shared folder for the appropriate user in the Publisher machine. The Snapshot folder should be in the Publisher machine.
- Choose the database which you want to publish and Click Next.
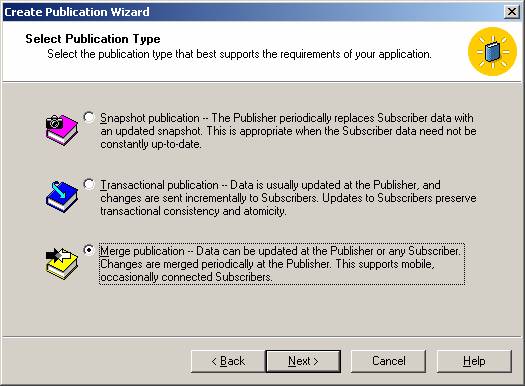
- Select the Publication Type as �Merge Publication�.
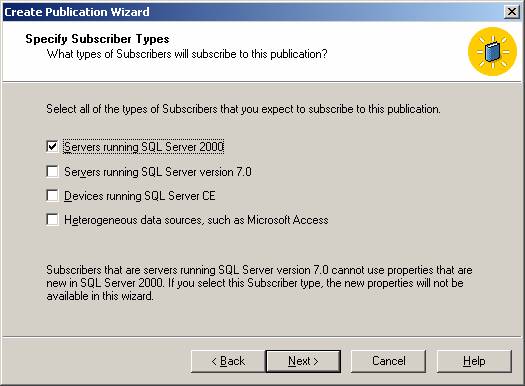
- Specify the Subscriber Types. Select �Servers running SQL Server 2000�. Then click Next.
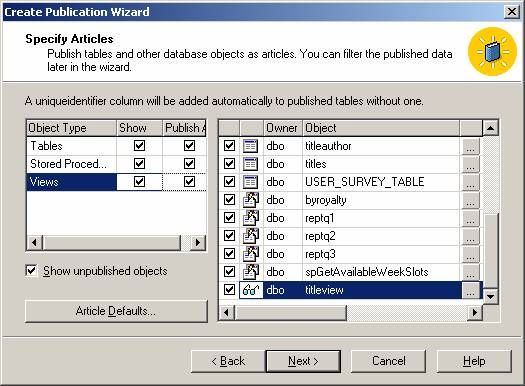
- Select the Object Types (like Tables, Stored Procedures and Views) which you want to publish, and click Next.
- It will show some issues which may require some changes at later stages in order to work as expected. Just click Next.

- Give Publication Name and click Next.
- It will ask to customize the properties of the Publication. Select �Yes, I will define data filters, enable anonymous subscriptions, or customize other properties�. Then click Next.
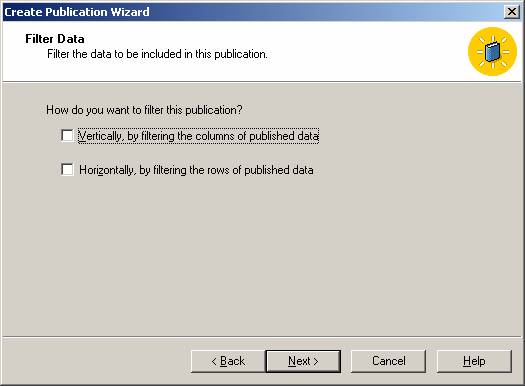
- Then, it will ask �How do you want to filter this publication?� Don�t select any thing here. Just click Next.
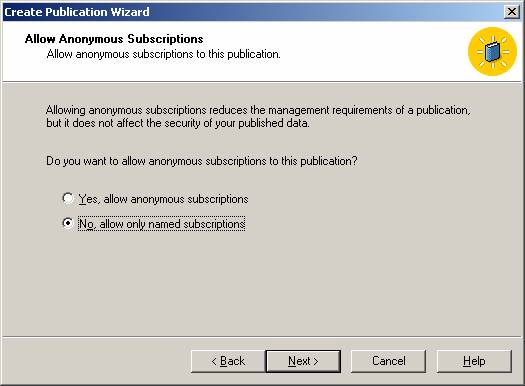
- Then, it will ask �Whether you want to allow anonymous subscription to this publication?�. Select �No, allow only named subscriptions�, and click Next.
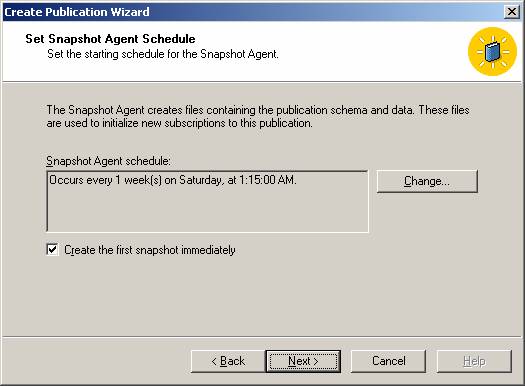
- It will show �Set Snapshot Agent Schedule� dialog box. Change the Snapshot Agent Schedule as per your requirement, then select �Create the first snapshot immediately�. And click Next.
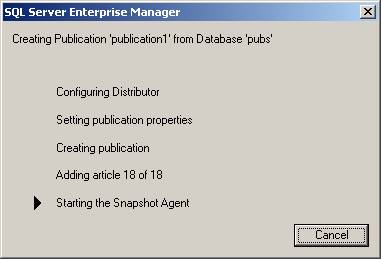
- Click Finish to create a Publication.
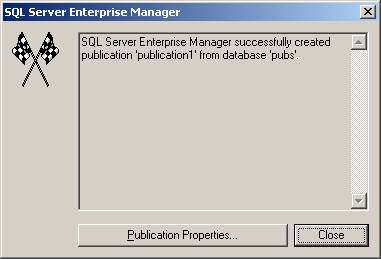
- Finally, it will show �SQL Server Enterprise Manager successfully created publication �pub1� from database�db1�. Just click Close.
- It will show the dialog box �Create and Manage Publications on respective Server�. Now go to the respective created Publication and click �Push New Subscription�.
- Before doing �Push New Subscription�, create new SQL Server Registration for Subscriber machine in the Publisher machine�s SQL Server Enterprise manager with SQL Authentication mode. For this, there should be one common SQL login name in both Publisher and Subscriber machines. Set server roles for this user as System Administrator, Process Administrator and Bulk Insert Administrators, and give database access to the respective database for which you want to perform replication.
- Go to �Push New Subscription� wizard. This will open �Push Subscription Wizard�. Just Click Next.
- Choose one or more subscribers from Enabled Subscribers and click Next. (Note: It will show the Subscriber�sSQL Server name under Enable Subscribers only if you do step 19.)
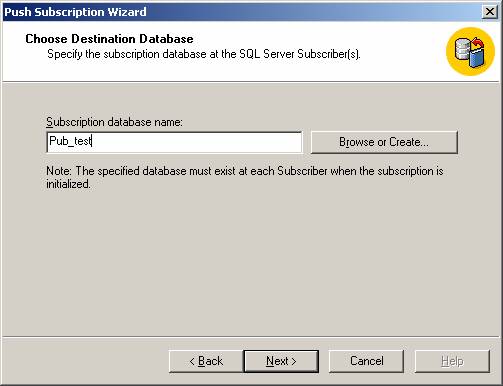
- Choose Subscription (destination) database name by browsing and clicking Next. (Note: You can create newdatabase if you want by clicking Create New).
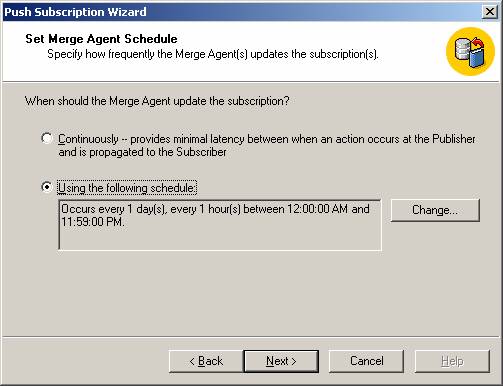
- �Set Merge Agent Schedule�. Change the Schedule as per your requirement and click Next.
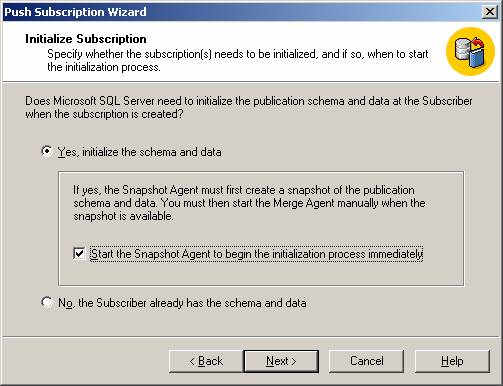
- Specify whether the Subscription(s) needs to be initialized or not. Select �Yes, initialize the schema and data� as well as select �Start the Snapshot Agent to begin the initialization process immediately�, and click Next.
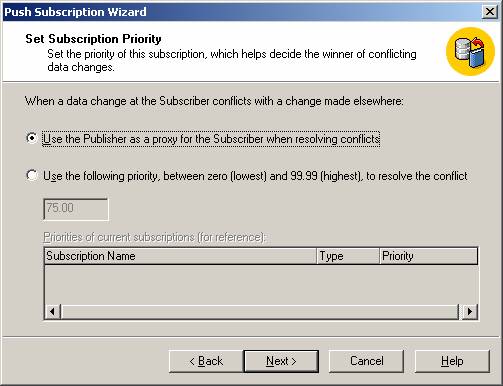
- �Set Subscription Priority� as �Use the Publisher as a proxy for the Subscriber when resolving conflicts�, and click Next.
- It will show the status of the SQLSERVERAGENT service as running. Just click Next.
- Click Finish to complete the Push Subscription.
- Finally, it will show �Subscriptions were created successfully at the following Subscribers:�. Just click Close.
- Now, in the SQL Server Enterprise Manager, go to the appropriate SQL Server Group and go to �Replication Monitor -> Publishers -> Respective Server -> Publication Name�. In the right pane, you will see the snapshot agent. Just right click and select �Start Agent�. Refresh it once. Then right click on the respective publication name and select �Start Synchronizing�. It will merge the necessary data. Refresh it once.
Important Note:
SQL Server 2000 replication will not support full-text indexing. But, enable full-text indexing at the subscriber machine manually. This can be done by Full-text indexing wizard. Select the appropriate table and enable the required fields in that table as full-text indexed. Then, create a new catalog or else use the existing catalog and schedule it, if needed. Once this is done, go to that particular catalog and right click and select �Start full population�. The status will be displayed as �population in progress�.
Advantages in Replication:
Users can avail the following advantages by using replication process:
- Users working in different geographic locations can work with their local copy of data thus allowing greater autonomy.
- Database replication can also supplement your disaster-recovery plans by duplicating the data from a localdatabase server to a remote database server. If the primary server fails, your applications can switch to the replicated copy of the data and continue operations.
- You can automatically back up a database by keeping a replica on a different computer. Unlike traditional backup methods that prevent users from getting access to a database during backup, replication allows you to continue making changes online.
- You can replicate a database on additional network servers and reassign users to balance the loads across those servers. You can also give users who need constant access to a database their own replica, thereby reducing the total network traffic.
- Database-replication logs the selected database transactions to a set of internal replication-management tables, which can then be synchronized to the source database. Database replication is different from file replication, which essentially copies files.
Replication Performance Tuning Tips:
- By distributing partitions of data to different Subscribers.
- When running SQL Server replication on a dedicated server, consider setting the minimum memory amount forSQL Server to use from the default value of 0 to a value closer to what SQL Server normally uses.
- Don�t publish more data than you need. Try to use Row filter and Column filter options wherever possible as explained above.
- Avoid creating triggers on tables that contain subscribed data.
- Applications that are updated frequently are not good candidates for database replication.
- For best performance, avoid replicating columns in your publications that include
TEXT, NTEXT or IMAGE data types.
Conclusion
In a nutshell, replication is the capability to reliably duplicate data from a source database to one or more destinationdatabases. SQL Server 2000 gives you the power for replication design, implementation, monitoring, and administration. This gives you the functionality and flexibility needed for distributing copy of data and maintaining data consistency among the distributed. You can automatically distribute data from one SQL Server to many different SQLServers through ODBC (Open Database Connectivity) or OLE DB. SQL Server replication provides update replication capabilities such as Immediate Updating Subscribers and merges replication. With all the new enhancements to SQLServer replication, the number of possible applications and business scenarios is mind-boggling.


 Being a Java developer, I always compile and test my code on different Java versions. But switching between them is a huge problem. So finally I found an easy method to do this. You have to create following batch files and place them in directory you open your command line in or in SYSTEM PATH. You can use you favorite text editor to create these files.


