Maintenance plans can be created using the Maintenance Plan Wizard or using the design surface. The Wizard is useful if the DBA wants to create a basic maintenance plan. If he intends to create enhanced work flow then, it is advisable to use the design surface. Maintenance Plans are displayed only to users connected using the Windows Authentication.
Invoking The Maintenance Plan Wizard from Add/Remove Programs.
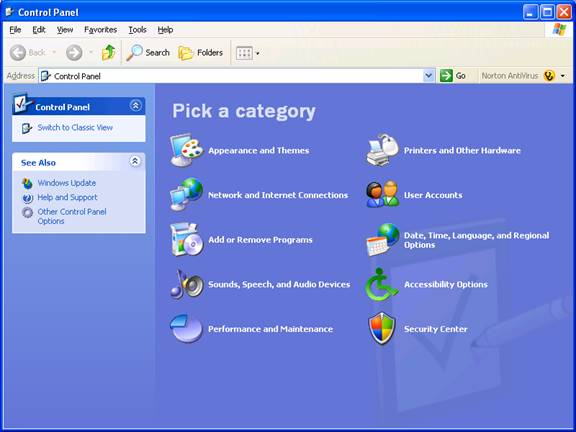
One method of accessing the Maintenance Plan Wizard is by navigating to the Add/Remove programs panel of the Operating system. Each option of SQL Server is listed in the panel.
1. In Control Panel, double-click Add or Remove Programs.
2. Under Currently installed programs, click the instance of SQL Server to configure, and then click Change.
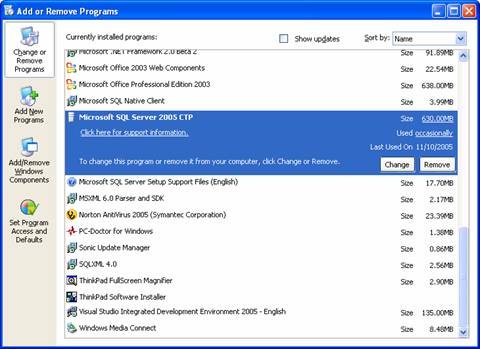
3. On the Change or Remove Instance page, click Change Installed Components.
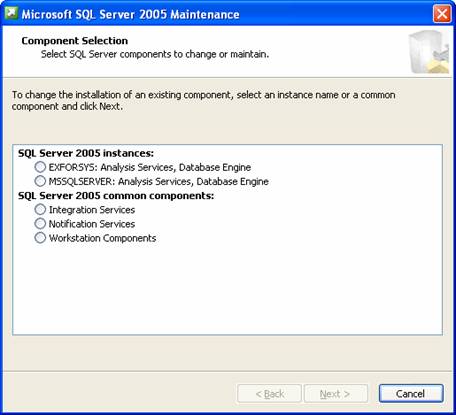
4. On the Feature Selection page, select or clear features.
5. Click Next, and then follow the instructions on subsequent wizard pages.
Invoking The Maintenance Plan Wizard from SQL Server Management Studio.
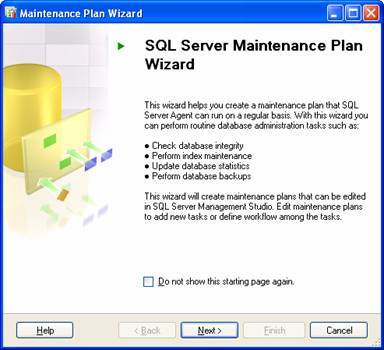
The Maintenance Plan Wizard helps set up the core maintenance tasks for optimum performance of the SQL Server components.
To start the Maintenance Plan Wizard
1. Expand the server.

2. Expand the Management folder.
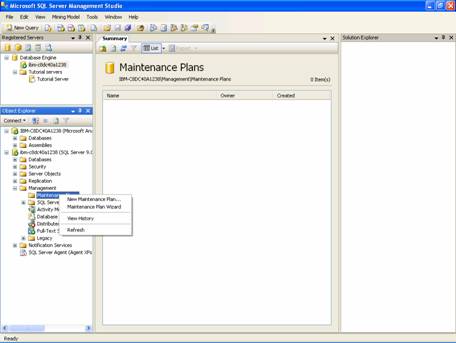
3. Right-click Maintenance Plans and select Maintenance Plan Wizard. This launches the wizard and you can now step through and create a plan customized to meet your maintenance requirements.
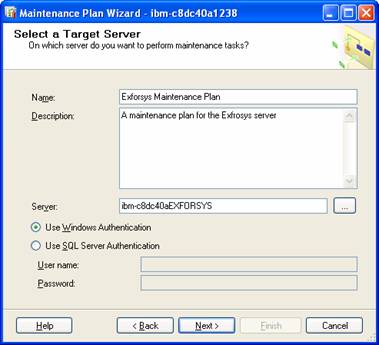
The first step is to give a name to the Maintenance plan along with a description. Enter the name, description, the server details and authentication mode and click Next.
The next step is to specify the areas where the DBA wants to set up Maintenance options.
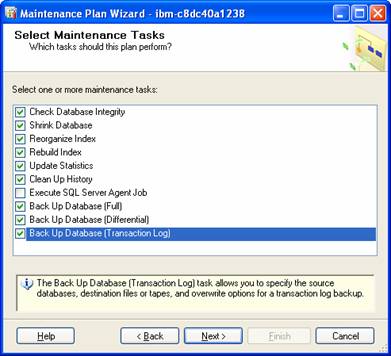
The Execute SQL Server Agent job cannot be selected unless jobs have been assigned.

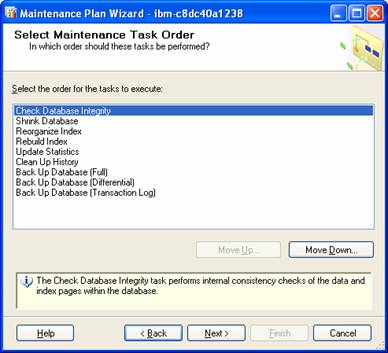
The Next screen prompts the Administrator select the order in which he wants the maintenance tasks performed. He can move the items up and down the list until he is satisfied with the order using the Move up.. and move down… buttons.
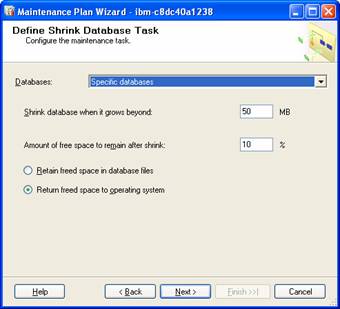
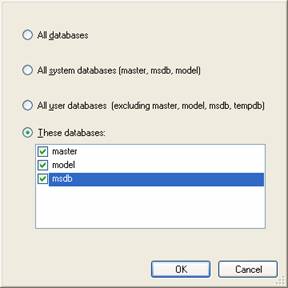
The next task is to specify the details for each task. The DBA is taken through Wizard screens for each of the tasks he has selected. The first is the Shrink Database task as per the list above. The DBA now specifies the databases in the window that pops up(illustrated below) when he clicks on the Databases combo box. After specifying the databases he returns to the Wizard screen and specifies the event at which the Shrinking should happen and the amount of free space that should remain after the shrink. He has also to specify whether the space should be retained or returned to the operating system.
The Next task is the definition of the Database check integrity task. By default this is the first task. The user has to select the databases and specify whether indexes have to be included or not. The window that pops up is similar to the one above.

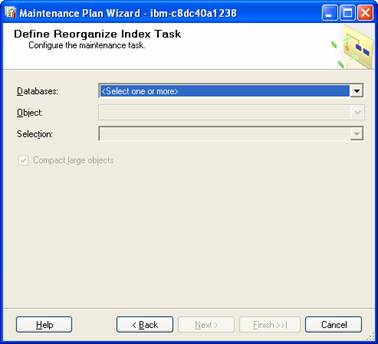
The Next task is to enter the specifications for the Reorganize Index task. Select the tables from the popup window and specify the tables and views required. The Administrator has to also specify whether he wants to compact large objects or not.
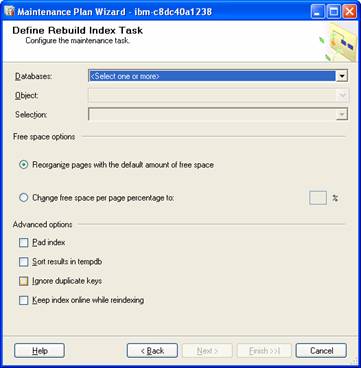
Rebuilding the Index involves selection of the databases, objects and setting the space options. The DBA can also set Advanced options such as Pad Index, Sort results to tempdb, Ignore duplicate keys and Keep index online while reindexing.
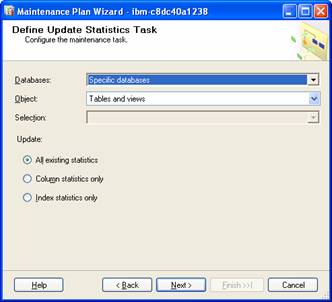
The Update statistics task prompts the user to select the database, objects and the update options.
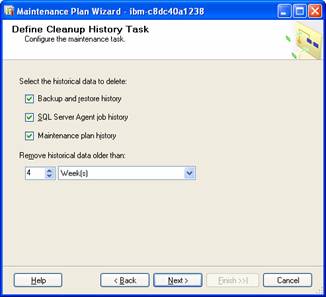
The Cleanup job specifies what needs to be backed up before cleaning.
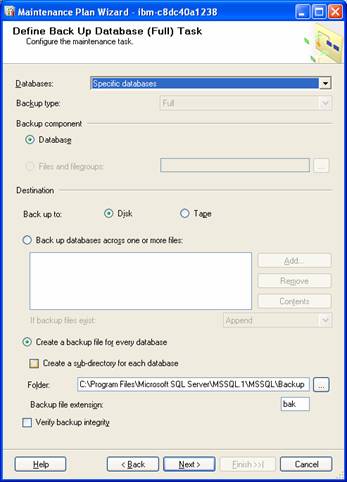
The Next task is the definition of Back up options. The first is for Full task. There are a number of options which the user has to specify.
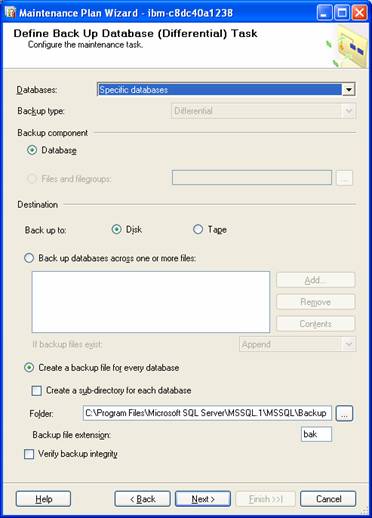
The next backup options are for differential backup. The user has to specify which databases have to be backed up, where it has to be backed up and so on…The user can also set up the option for a back up verification check by checking the check box provided for the purpose.
The Next options required to be set are the Transaction log backup options. Again the user has to specify what to backup, where to backup and so on.. He can also specify a backup integrity verification check.

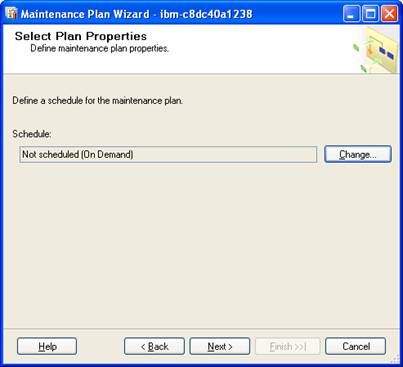
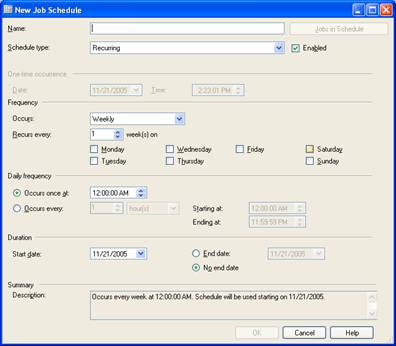
The Next screen prompts for Plan properties. The user has to specify whether he wants to retain default properties or he wants to change them. If he needs to change them, he has to click on the Change button and navigate through the screens setting the options he is prompted to give as illustrated in the screen shots below.
If the DBA has not unblocked access to dbo.sp_get_sqlagent_properties by turning on the Ágent XPs for the server, he will get an error message prompting him to turn on the Agent XPs by using sp_configure.
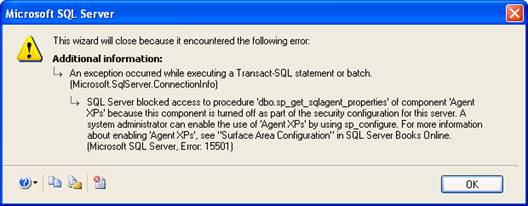
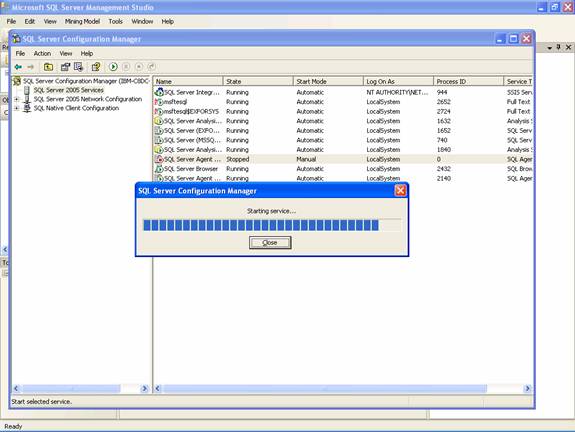
Keeping in mind the security requirements, SQL server 2005 selectively installs and activates key features and services. The intention is to reduce the area of exposure of the system. The default configuration has many of the features turned off. The System Administrator can change these features later using the Microsoft SQL Server Surface Area Configuration tool. This tool helps the Administrator enable or disable features, services and network protocols for remote connections. We shall be touching upon how to configure internal settings a little later in this lesson. For the present the DBA needs to understand that an error will be thrown up if the Agent XPs have not been enabled. To enable the Server Agent XP double click on the item in the object explorer and start the service from the SQL Server Configuration manager.
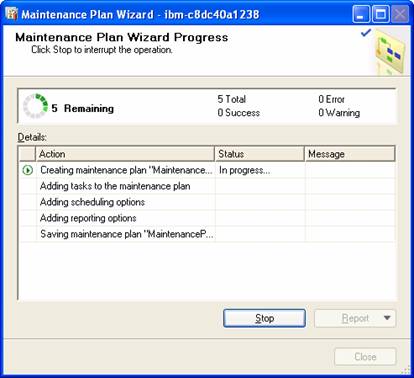
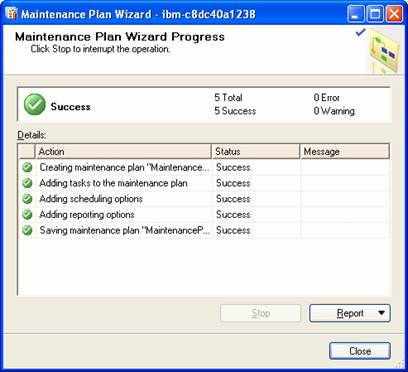
If the SQL Server Agent is enabled, the Wizard will go through the following screens to complete the task of creating the maintenance plan.

No comments:
Post a Comment